No Bake Coconut Energy Bites
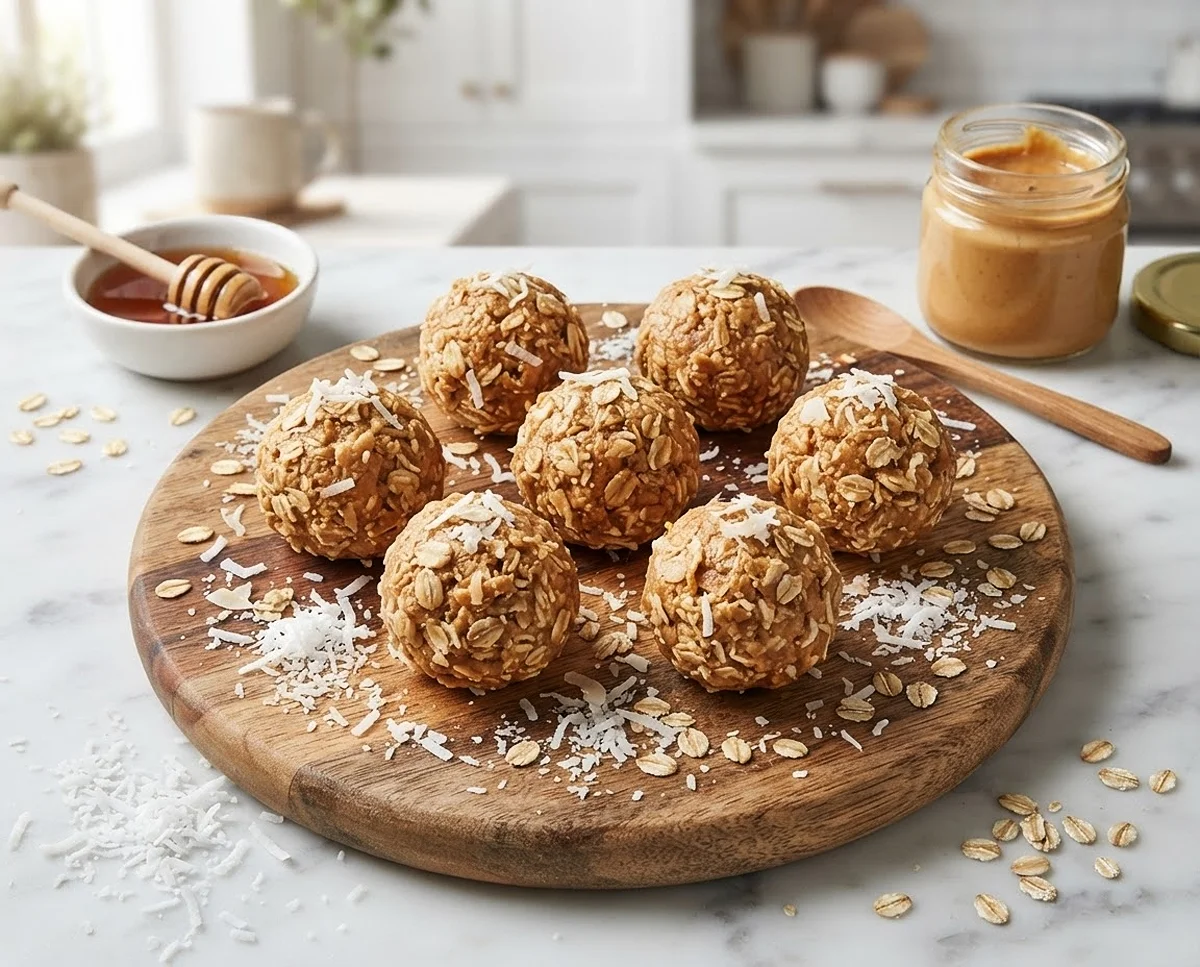
These No Bake Coconut Energy Bites are basically the easiest dessert recipe in your rotation — just four pantry staples, no oven, and a chewy coconut-peanut butter combo that tastes like a treat but works as a snack too.
Okay, real talk: I started making these on a random Tuesday when I had zero motivation to bake anything but still wanted something sweet in the house. Four ingredients later, I had a jar of these little guys disappearing faster than I could roll them, and now they’re basically a permanent fixture in my fridge.
Table of Contents
Why You’ll Love This No Bake Coconut Energy Bites Recipe
Before we get into the nitty gritty, here’s the quick rundown on why this one earns a permanent spot in your easy dessert recipes folder.
- Only four ingredients, and you probably already have most of them
- Zero oven time, so your kitchen stays cool
- Naturally gluten free thanks to gluten free rolled oats
- Chewy, coconutty, and just sweet enough without being sugar-bomb territory
- Perfect as a no bake snack bites option for lunchboxes, road trips, or a 3pm slump
Basically, if you’ve been hunting for coconut sweet bites that don’t require turning on the oven or dirtying five bowls, this is your sign to stop scrolling.
What You’ll Need for No Bake Coconut Energy Bites
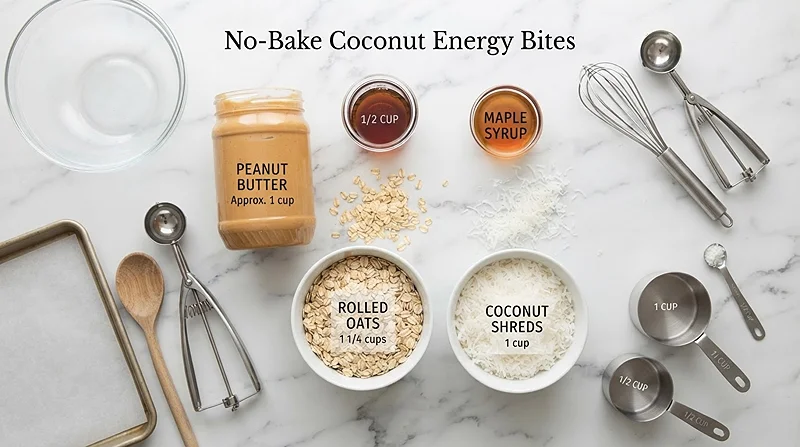
The ingredient list is short and sweet (pun fully intended). Here’s everything broken down by role in the recipe.
| Wet Ingredients | Amount |
|---|---|
| Natural, unsalted creamy peanut butter | 1 cup |
| Pure maple syrup | ½ cup |
| Dry Ingredients | Amount |
|---|---|
| Gluten free rolled oats | 1¼ cups |
| Unsweetened coconut (shreds or flakes) | 1 cup |
Quick note on the peanut butter: go for the natural, drippy kind, not the shelf-stable stuff loaded with sugar and stabilizers. It melts down smoother and gives you that classic caramel-frosting texture we’re going for.
How to Make No Bake Coconut Energy Bites
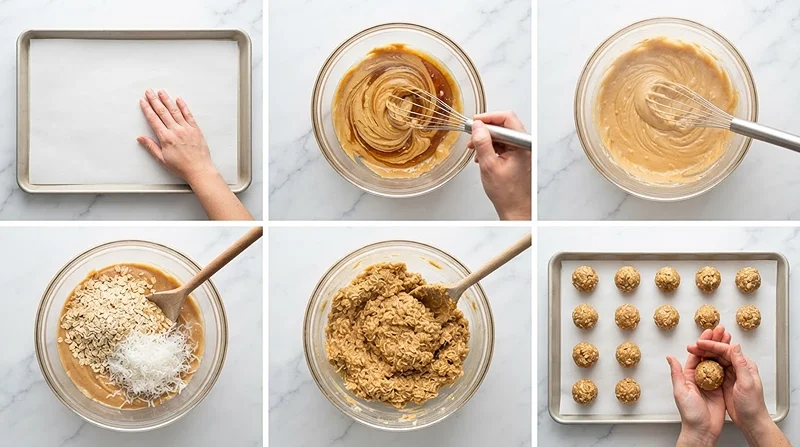
This whole process takes way less time than preheating an oven, which honestly feels like a win before you’ve even started. Let’s walk through it step by step.
Step 1: Prep Your Baking Sheet
Line a baking sheet with parchment paper or wax paper and set it aside. This is where your finished bites will hang out while they firm up, so don’t skip it unless you enjoy scraping sticky dough off a bare pan.
Step 2: Warm Up the Peanut Butter and Maple Syrup
In a medium microwave-safe bowl, big enough to eventually hold the oats and coconut too, add your peanut butter and maple syrup. Whisk them together until they’re fully combined.
Heat in 20-second increments, whisking in between, until the mixture is very warm, fragrant, and starts looking a little fluffy — usually 4 to 7 rounds does it. “Once it looks like caramel frosting, you’ve nailed it,” is basically my rule of thumb here. No microwave? Do this same process on the stovetop over low heat, stirring constantly so nothing scorches.
Step 3: Mix in the Oats and Coconut
Add your gluten free rolled oats and unsweetened coconut straight into the warm peanut butter mixture. Stir and fold until everything is thoroughly combined and the whole thing thickens up into a dense, scoopable dough.
This is the part where your kitchen starts smelling like a coconut sweet bites bakery, and it’s genuinely hard not to eat it straight from the bowl with a spoon.
Step 4: Roll and Chill
Using a cookie scoop, portion the mixture onto your prepared baking sheet, then roll each scoop into a ball with your hands. If the dough feels too soft to hold its shape, pop the tray in the freezer for 10 to 15 minutes until firm.
And that’s it — no bake snack bites, ready to enjoy. If you liked how quick this came together, you’ll probably also love these fluffy air fryer churro bites for another fast treat with minimal cleanup.
Tips, Variations, and Troubleshooting
A few small tweaks can take these from good to “wait, can I have the recipe” good. Here’s what I’ve learned from more batches than I’d like to admit.
Pro Tips for Perfect Coconut Sweet Bites
Use a cookie scoop for even sizing, which also helps them set at the same rate. Whisk the peanut butter and maple syrup thoroughly before heating, since clumps don’t smooth out as well once the oats go in.
If your peanut butter separates naturally in the jar, give it a good stir before measuring so you get an accurate ratio of oil to solids.
Fun Variations to Try
Swap the peanut butter for almond butter or sunflower seed butter if you need a nut-free option. A pinch of cinnamon or a splash of vanilla extract adds a cozy background flavor without changing the texture.
Want more texture? Fold in mini chocolate chips, chopped dried fruit, or a spoonful of chia seeds along with the oats and coconut.
Troubleshooting Common Issues
Dough too sticky to roll? Chill it in the fridge for 10 minutes before shaping. Dough too crumbly and refusing to hold together? Add a splash more maple syrup, one tablespoon at a time, until it binds.
If your bites taste more oaty than sweet, that’s usually a sign the peanut butter and maple syrup weren’t heated long enough to fully coat the oats. A few extra 20-second rounds in the microwave usually fixes it.
Looking for more easy dessert recipes with minimal fuss? These comforting snackable bites are worth bookmarking too.
How to Store No Bake Snack Bites
These bites hold up well in the fridge or freezer, which makes them a solid meal-prep snack option. Here’s the breakdown.
| Storage Method | Container | Shelf Life |
|---|---|---|
| Refrigerator | Airtight container | Up to 1 week |
| Freezer | Freezer-safe bag or container | Up to 3 months |
| Room Temperature | Airtight container | 2 to 3 days |
No reheating is really needed here since they’re meant to be enjoyed cool or at room temp. If they’ve been frozen, just let them sit on the counter for 10 to 15 minutes before eating so they soften back up.
For a no-waste kitchen tip, save any crumbled bites that break apart and sprinkle them over yogurt or oatmeal instead of tossing them. Leftover coconut or oats from the bag can also go straight into a batch of other easy dessert recipes on the blog so nothing goes to waste.
Nutritional Information
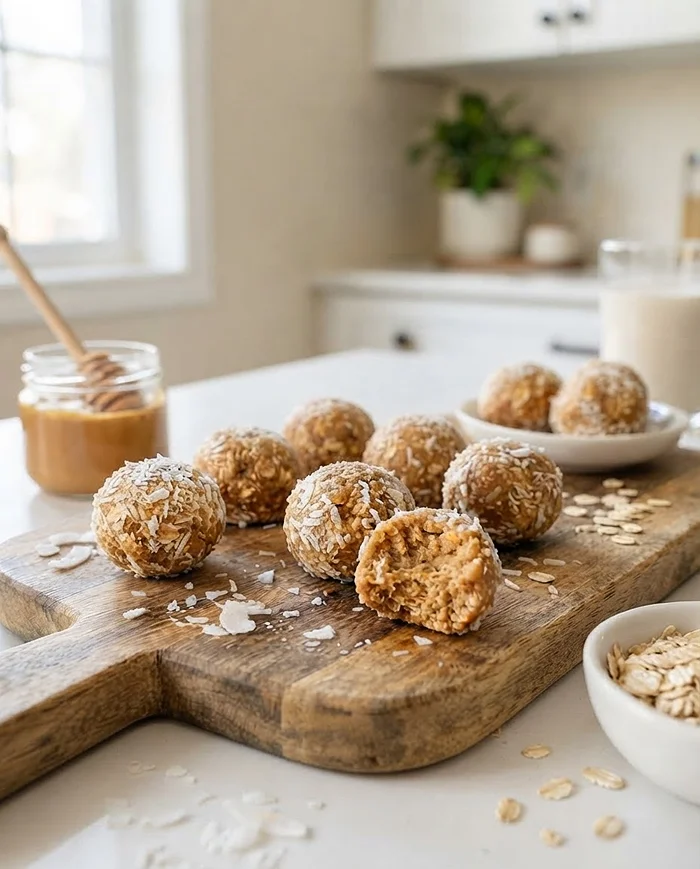
Here’s an approximate breakdown per bite, based on a batch of about 20 bites. Exact numbers will vary depending on the exact brands you use, so check the USDA nutrition database if you need precise figures for tracking.
| Nutrient | Approximate Amount (per bite) |
|---|---|
| Calories | 140 kcal |
| Protein | 6 g |
| Carbohydrates | 13 g |
| Fat | 9 g |
| Fiber | 2 g |
| Sugar | 6 g |
The fiber content in oats is part of what keeps these bites feeling more satisfying than your average sugary snack.
Frequently Asked Questions
Can I make No Bake Coconut Energy Bites ahead of time?
Yes, these are a great make-ahead easy dessert recipe. Store them in an airtight container in the fridge for up to a week, or in the freezer for up to three months.
Can I use sweetened coconut instead of unsweetened?
You can, but keep in mind the bites will turn out noticeably sweeter. If you use sweetened coconut, consider reducing the maple syrup slightly to balance things out.
Why is my mixture too crumbly to roll into balls?
This usually means the mixture needs a touch more moisture. Add an extra tablespoon of maple syrup or peanut butter and mix again until it holds together.
Are these no bake snack bites actually gluten free?
Yes, as long as you use certified gluten free rolled oats, since regular oats can sometimes be cross-contaminated during processing.
Can I substitute the peanut butter with another nut butter?
Absolutely. Almond butter, cashew butter, or sunflower seed butter all work well as a swap and keep the same chewy texture.
Final Thoughts
These No Bake Coconut Energy Bites are proof that a great easy dessert recipe doesn’t need an oven, a mixer, or a long ingredient list. Four staples and about ten minutes of hands-on time gets you a batch of chewy, coconutty snacks worth keeping on repeat.
If you give these a try, snap a photo and pin it to Pinterest so other snack lovers can find them too. And if you’re craving something savory next, these bang bang salmon bites bowls are a great next stop.
Drop a comment below and let me know how your batch turned out, or if you tried any fun variations of your own. I’d genuinely love to hear about it.
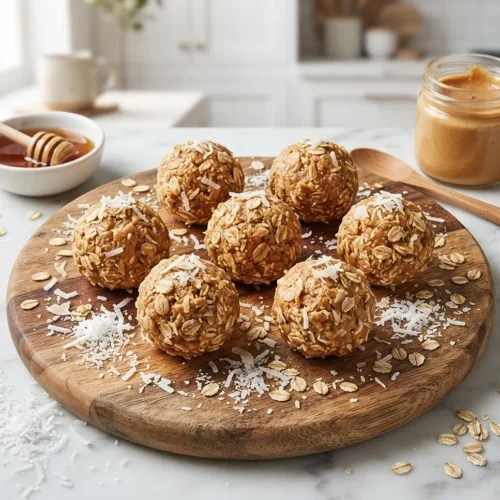
Dreamy No Bake Coconut Energy Bites
Equipment
- Baking sheet
- Parchment paper or wax paper
- Medium microwave-safe bowl
- Whisk
- Cookie Scoop
Ingredients
Wet Ingredients
- 1 cup natural, unsalted creamy peanut butter use drippy natural peanut butter for best texture
- ½ cup pure maple syrup
Dry Ingredients
- 1 ¼ cups gluten free rolled oats
- 1 cup unsweetened coconut (shreds or flakes)
Instructions
- Line a baking sheet with parchment paper or wax paper and set it aside.
- In a medium microwave-safe bowl, add the peanut butter and maple syrup. Whisk together until well combined.
- Heat in 20-second increments in the microwave, whisking in between, until very warm, fragrant, and slightly fluffy looking (about 4 to 7 rounds). The texture should resemble caramel frosting. Stovetop instructions available in the notes.
- Add the oats and coconut to the peanut butter mixture. Stir and fold until thoroughly combined and thickened.
- Using a cookie scoop, scoop and drop balls of the mixture onto the prepared baking sheet. Roll into balls. If needed, chill in the freezer until firm, then enjoy.