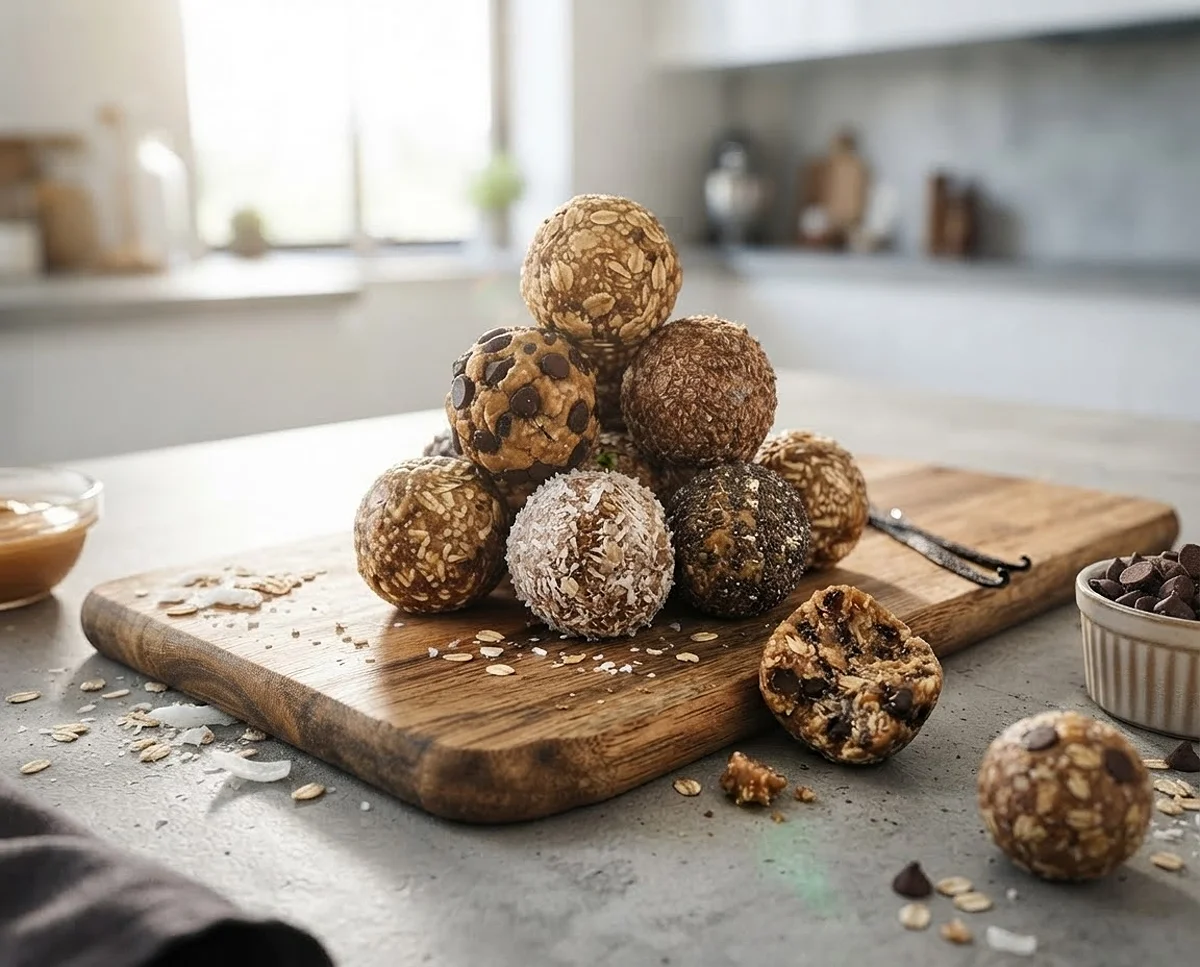
No Bake Energy Bites
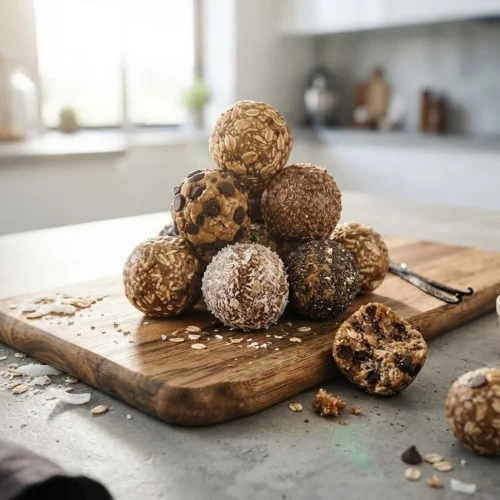
Craving easy snacks appetizer recipes that come together in minutes? These no bake energy bites are a chewy, chocolatey, no-oven-needed treat packed with oats, peanut butter, and flax for the ultimate healthy snack bites.
My kitchen has a drawer that’s basically a graveyard of half-used bags of oats and flaxseed, and one rainy afternoon I finally decided to do something about it. That’s how these no bake energy bites were born, and honestly, they’ve been saving my 3pm slump ever since.
I used to be the person who bought protein bars in bulk, read the ingredient label, and quietly panicked. Somewhere along the way I realized I could just make my own, and it took shockingly little effort to get hooked.
Now this recipe lives on a sticky note taped inside my pantry door, because I’ve made it so many times the paper is basically part of the kitchen furniture at this point.
Table of Contents
Why You’ll Love These No Bake Energy Bites
These little guys are the easiest healthy snack bites you’ll ever throw together. No oven, no fancy equipment, just a bowl, a spoon, and a fridge.
They’re chewy, a little nutty, studded with mini chocolate chips, and they hit that sweet spot between “treat” and “actually good for me.” Plus they’re one of those meal prep snacks that survives a busy week in the fridge without turning sad or stale.
- Ready in under 15 minutes of actual hands-on work
- No baking, no melting chocolate, no drama
- Naturally sweetened with honey, no refined sugar needed
- Endlessly customizable, so you can make them your own
- Perfect for lunchboxes, road trips, or that awkward hour before dinner
I’ve packed these for hikes, tossed a handful in my bag before long car rides, and once brought a container to a potluck where they disappeared faster than the actual dessert. There’s something about the combination of chewy oats, melty little chocolate pockets, and toasted coconut that makes people ask for the recipe before they even finish chewing.
If you like the idea of grab-and-go snacking, you’ll probably also enjoy these comforting snackable bites, which scratch a similar salty-sweet itch.
What You’ll Need: Ingredients
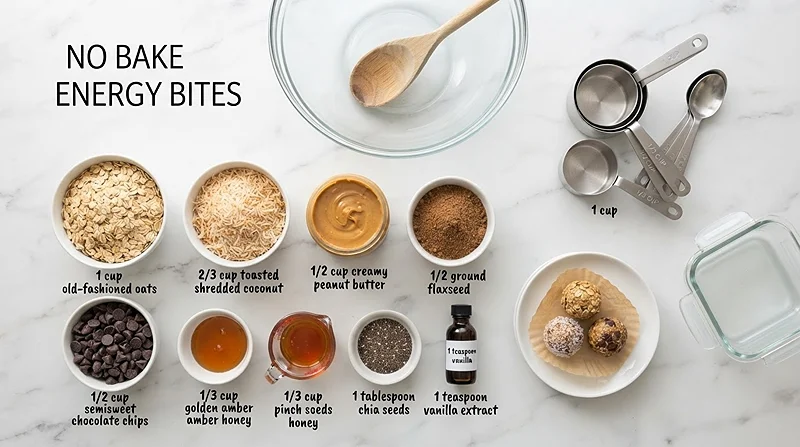
Nothing weird here, just pantry staples that team up to make something way better than the sum of their parts. Here’s your shopping list, grouped so it’s easy to scan.
Base Ingredients
| Ingredient | Amount |
|---|---|
| Old-fashioned oats | 1 cup |
| Toasted shredded coconut (sweetened or unsweetened) | 2/3 cup |
| Ground flaxseed | 1/2 cup |
| Chia seeds (optional) | 1 tablespoon |
Wet Ingredients and Flavor
| Ingredient | Amount |
|---|---|
| Creamy peanut butter | 1/2 cup |
| Honey | 1/3 cup |
| Vanilla extract | 1 teaspoon |
| Semisweet chocolate chips (or vegan chocolate chips) | 1/2 cup |
Quick note on the flax: it’s not just filler. Ground flaxseed brings fiber and those good-for-you omega-3s, and nutrition experts generally recommend the ground form since it’s easier for your body to actually absorb.
How to Make No Bake Energy Bites
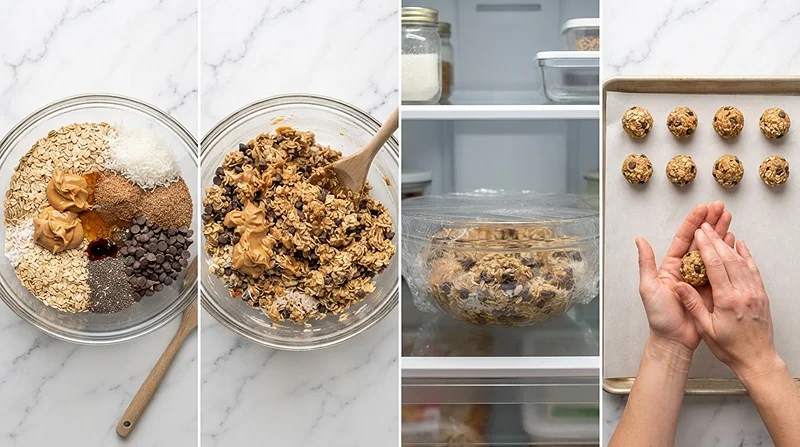
This is genuinely one of the most forgiving recipes I make. There’s no precise science here, just stirring, chilling, and rolling.
Step 1: Stir It All Together
Grab a large mixing bowl and dump in the oats, coconut, peanut butter, flaxseed, chocolate chips, honey, chia seeds, and vanilla. Stir until everything is thoroughly combined and the mixture looks sticky and a little shiny.
“Don’t rush this step,” is what I always tell myself, because an unevenly mixed batch means some bites end up dry while others are a chocolate chip jackpot. Get in there with a sturdy spoon or even your hands.
Step 2: Chill the Mixture
Cover the bowl and pop it in the refrigerator for 1 to 2 hours, or until it’s nice and chilled. This step matters more than it seems like it should.
Chilling firms up the peanut butter and honey so the mixture actually holds together when you roll it, instead of sticking to your palms like cement. Patience pays off here, promise.
Step 3: Roll Into Balls
Once chilled, scoop out the mixture and roll it into 1-inch balls. A small cookie scoop makes this faster and keeps the bites uniform, which is handy if you’re prepping a batch for the week.
If the mixture feels a little too sticky, wet your hands slightly with water. It sounds odd, but it stops everything from gluing itself to your fingers.
Step 4: Serve and Enjoy
Eat one right away if you want, warm-ish and soft straight from the bowl. Otherwise, refrigerate them in a sealed container for up to a week, or freeze for up to three months for future-you to enjoy.
Expert Tips, Variations, and Troubleshooting
Once you’ve made these once, you’ll start tweaking them, and that’s half the fun. Here’s what I’ve learned from a few dozen batches.
Helpful Tips
Toast your coconut lightly if it isn’t pre-toasted, since it adds a deeper, nuttier flavor. Also, use natural peanut butter sparingly since the oil separation can throw off the texture, and a no-stir creamy peanut butter tends to bind better.
Tasty Variations
Swap peanut butter for almond or sunflower seed butter if you need a nut-free version. You can also add a scoop of protein powder, a pinch of cinnamon, or swap chocolate chips for dried cranberries or raisins for a fruitier twist on these easy snacks appetizer recipes.
For a chocolate lover’s version, mix a tablespoon of cocoa powder right into the dry ingredients before combining. If you want a little crunch, chopped almonds or pumpkin seeds fold in nicely without changing the texture too much.
My favorite variation lately has been adding orange zest and a handful of dried apricots, which somehow makes the whole batch taste brighter and a little more special, almost like a tiny dessert instead of just a snack.
Troubleshooting
Mixture too dry and crumbly? Add a splash more honey or peanut butter, one tablespoon at a time. Mixture too wet and sticky? Add a bit more oats or ground flaxseed until it firms up. Balls falling apart? That usually means it needs more chill time in the fridge before rolling.
I learned this one the hard way on a humid summer day when my first batch turned into more of a peanut butter oat paste than actual bites. A quick 30 extra minutes in the fridge fixed everything, so if your kitchen runs warm, just plan for a bit of extra chill time.
Another small thing that makes a real difference is using room-temperature peanut butter rather than fridge-cold. It blends into the oats far more evenly, which means fewer dry pockets and a smoother, more cohesive bite every single time.
If you’re into other no-fuss treats that don’t require the oven, these no bake mango coconut squares are a fruity companion recipe worth bookmarking.
Storage, Reheating, and No-Waste Ideas
These bites are basically built for meal prep snacks, so storing them properly just makes life easier during the week.
| Storage Method | How Long They Last |
|---|---|
| Refrigerator, sealed container | Up to 1 week |
| Freezer, airtight container or bag | Up to 3 months |
| Room temperature, covered | Up to 2 days |
No reheating is really needed here since these are meant to be enjoyed cold or at room temperature. If frozen, just let them sit on the counter for about 10 minutes before eating so they soften slightly.
For a no-waste kitchen trick, use up any leftover shredded coconut or chocolate chips by sprinkling them over oatmeal or yogurt the next morning. Stale oats also work fine here, so this recipe is a great way to clear out that pantry backlog.
Nutritional Information
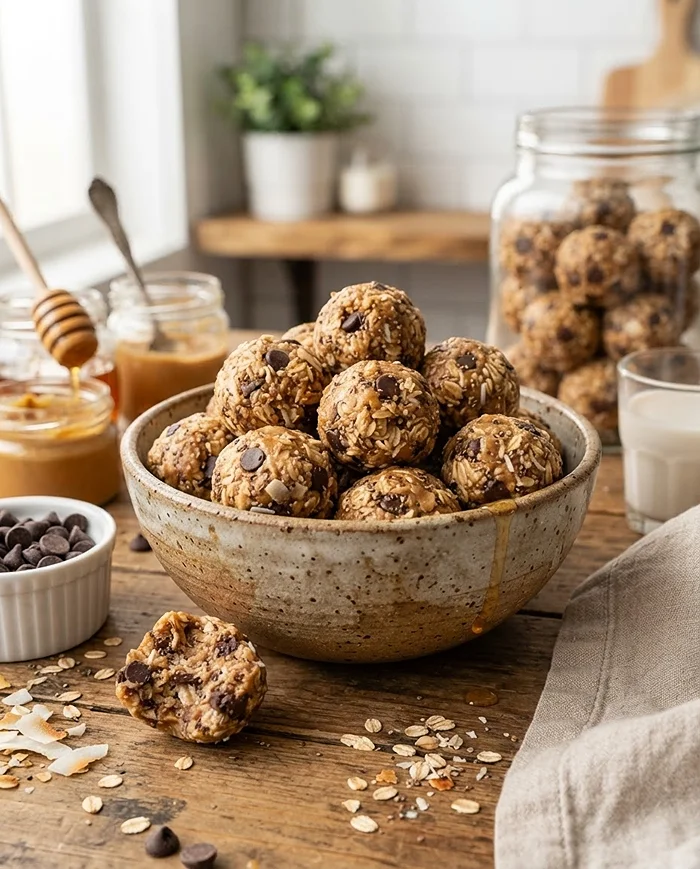
Here’s a rough estimate per bite, based on a batch of about 20 energy bites. Actual numbers will vary depending on brands and exact ingredient swaps.
| Nutrient | Amount Per Bite |
|---|---|
| Calories | ~95 |
| Total Fat | 5g |
| Carbohydrates | 10g |
| Fiber | 2g |
| Sugar | 6g |
| Protein | 3g |
Beyond the numbers, that flaxseed is doing quiet work too. Research suggests flaxseed may support healthy blood sugar and cholesterol levels, which is a nice bonus for a snack that already tastes like a treat.
Frequently Asked Questions
Can I make these no bake energy bites ahead of time?
Absolutely, these are ideal for meal prep. Make a batch on Sunday and you will have healthy snack bites ready to grab all week long from the fridge.
Can I freeze the energy bites?
Yes, they freeze beautifully for up to 3 months. Store them in an airtight container or freezer bag and let them thaw for a few minutes at room temperature before eating.
What can I use instead of peanut butter?
Almond butter, sunflower seed butter, or cashew butter all work well as substitutes. Just make sure whatever you choose is a creamy, no-stir variety for the best texture.
Why do I need to chill the mixture before rolling?
Chilling firms up the peanut butter and honey so the mixture holds its shape. Skipping this step usually leads to sticky, messy balls that fall apart.
Are these energy bites gluten free?
They can be, as long as you use certified gluten-free oats. Double check your chocolate chips too, since some brands process on shared equipment.
Final Thoughts
These no bake energy bites are proof that snacks don’t need to be complicated to be genuinely good. A few pantry staples, a little chill time, and you’ve got a batch of healthy snack bites ready whenever hunger strikes.
If you’re looking for more easy snacks appetizer recipes to round out your meal prep snacks lineup, don’t miss these fluffy air fryer churro bites.
These creamy baked brussels sprouts are another great addition to your next snack spread.
Give these a try this week and let me know how they turn out. Snap a photo, pin it to Pinterest, and drop a comment below, I’d love to hear what mix-ins you added to make them your own.
No Bake Energy Bites
Equipment
- Large mixing bowl
- Mixing spoon
- Airtight storage container
- Small cookie scoop (optional)
Ingredients
Base Ingredients
- 1 cup old-fashioned oats
- ⅔ cup toasted shredded coconut sweetened or unsweetened
- ½ cup ground flaxseed
- 1 tablespoon chia seeds optional
Wet Ingredients and Flavor
- ½ cup creamy peanut butter
- ⅓ cup honey
- 1 teaspoon vanilla extract
- ½ cup semisweet chocolate chips or vegan chocolate chips
Instructions
- Stir all ingredients together in a large mixing bowl until thoroughly combined and evenly distributed.
- Cover the mixing bowl and chill in the refrigerator for 1 to 2 hours, or until the mixture is chilled and firm enough to hold its shape.
- Roll the chilled mixture into 1-inch balls, wetting your hands slightly if the mixture feels too sticky.
- Serve and enjoy immediately, or refrigerate in a sealed container for up to 1 week, or freeze for up to 3 months.